Artificial discus fry raising: incubator + a 14-day protocol
A complete protocol for artificially raising discus fry when the parents eat, abandon or fail them — an improvised incubator, a parental-mucus substitute with egg yolk and Sera Micron, D5–D14 feeding and a 40–60% success rate.
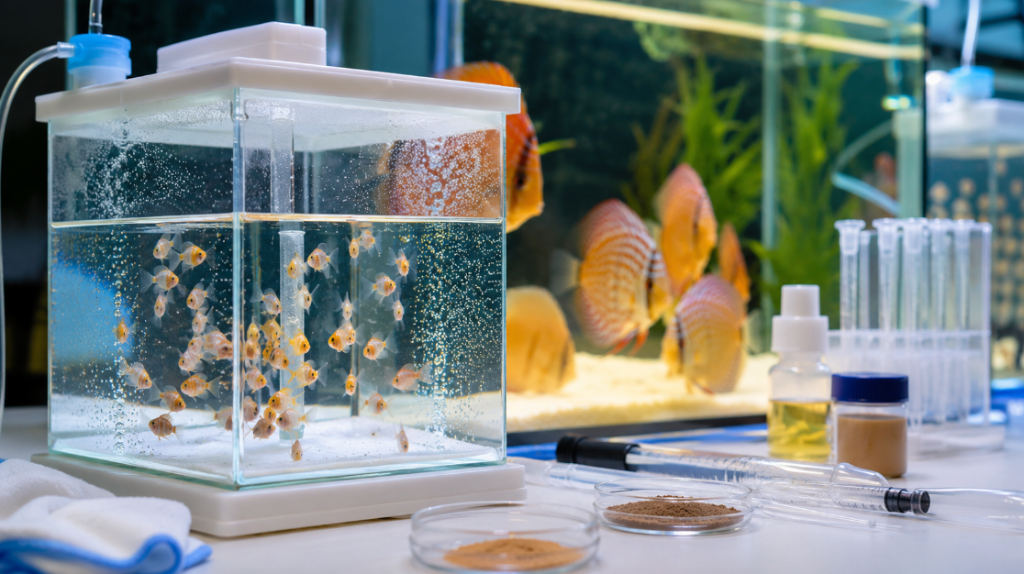
Quick summary
- Plan B for when the parents eat, abandon or fail the fry
- Replaces the parental-mucus phase with a food substitute: boiled egg yolk + Sera Micron + fine brine shrimp nauplii
- Success rate ~40–60% vs 70–85% natural — significantly lower, but infinitely better than 0% (total loss)
- Week 1 = the most demanding: 8–10 feeds/day (every 1–2h, including at night) + 30% water change every 12h
- Target temperature 30–30.5°C (86–87°F), bare-bottom, fine aeration, dim light
- Week 1 is almost a full-time job — make sure you're ready before you start
Artificial discus fry raising — an essential Plan B
Artificial discus fry raising (Symphysodon) is the protocol you apply when the parents fail — they eat the fry, abandon them or simply can't cope with the care. Unlike natural raising (where the fry benefit from parental mucus for the first 4–7 days, a live biological food critical for the immune system and growth), artificial raising replaces that phase with food substitutes: boiled egg yolk + Sera Micron + fine brine shrimp nauplii. The success rate? 40–60% vs 70–85% natural — significantly lower but infinitely better than 0% (total loss). This guide shows you the whole protocol: when to intervene, how to improvise an incubator, what to feed in the critical first 14 days, and how to transition the fry to a normal regime.
When artificial raising is necessary
Mandatory situations (don't wait any longer, transfer):
- The parents eat the fry repeatedly — 3+ consecutive failed spawns
- Total abandonment — the parents move away at 6+ hours and don't return
- The parents attack each other — a destabilized pair
- One of the parents dies — the other can't cope alone
- Massive Saprolegnia — all the fry risk infection
- Very stressed parents — they respond aggressively to anything
Optional situations (your call):
- An experienced breeder who wants better growth rates
- Scientific studies (parameter control)
- Multiplying spawns with vitamins/medications
Success rates — a comparison
| Stage | Natural (good parents) | Natural (young parents) | Artificial |
|---|---|---|---|
| Hatching | 85–95% | 30–60% | 70–85% |
| Survival D0–D7 | 70–85% | 40–60% | 40–60% ⬇️ |
| Survival D7–D28 | 80–95% | 60–80% | 70–85% |
| Total 4-week success | 60–85% | 15–40% | 35–60% |
Why lower with artificial raising?
- No parental mucus — biologically and immunologically irreplaceable
- Handling stress — every water/food change is a disturbance
- No natural cues — the fry don't "learn" behavior
- Contamination — a higher bacterial risk in the incubator vs the parent tank
The equipment needed
Total investment: €80–150 (an orientation estimate — varies by country).
Incubator container (10–30 L / 2.6–7.9 US gal)
- Clear plastic or a small tank
- Size: a minimum of 10 L (2.6 US gal) for 50 fry, optimal 20–30 L (5.3–7.9 US gal)
- Shape: rather tall and narrow (the fry stay near the surface)
- No substrate (bare-bottom mandatory)
Aeration system
- A small air pump (Tetra APS 50 or equivalent)
- A fine-bubble diffuser (NOT a large diffuser with a strong jet)
- A flexible tube with a valve to adjust the flow
- 2 aeration points for uniform circulation
Heating
- A 50W heater with a thermostat (e.g., Aquael Heater Mini)
- Target temperature: 30–30.5°C (86–87°F) (higher than for adults)
- A digital thermometer for daily checks
Lighting
- A small LED lamp with REDUCED intensity (10–20% of normal)
- Photoperiod: 8h on / 16h dark
- The fry don't hunt visually at first — strong light = stress
Feeding equipment
- A needle-free syringe (3–5 ml) to distribute food
- Fine brushes (size 0–1) for delicate handling
- A 100-micron mesh filter (for brine shrimp)
PARENTAL MUCUS substitute — the critical phase D0–D4
The biggest challenge of artificial raising: replacing parental mucus.
In the wild, the fry "stick" to the parents' skin for 6–10 days and feed on a mucus rich in:
- Antibodies (a passive immune system)
- Specialized proteins
- Growth hormones
- Natural probiotics
In the incubator, we provide:
Recipe 1: "Discus Fry Starter" (the best)
Ingredients:
- 1 egg yolk hard-boiled for 12 min
- 5 ml Sera Micron (microorganisms + yeast)
- 2 ml fish oil (omega-3, vitamins A, D, E)
- 0.5 g spirulina powder
- 1 drop of multivitamin (JBL Atvitol)
Preparation:
- Break up the yolk with a fork (no egg white!)
- Add Sera Micron + spirulina
- Add fish oil + vitamins
- Dilute with 50 ml of water from the incubator
- Pass through a fine mesh (100 micron) — you get a homogeneous suspension
Dose: 0.5–1 ml of suspension / 10 fry / meal
Frequency: 8–10 meals / day (every 1–2 hours, including at NIGHT!)
Recipe 2: "Mucus Substitute Pro" (the closest biologically)
Advanced ingredients:
- 1 boiled egg yolk
- 2 ml beef blood plasma (from the butcher, frozen, thawed) — the protein source
- 5 ml Sera Micron
- 1 human probiotic capsule (Bifido + Lacto)
- 1 drop of vitamin E
This recipe significantly improves the survival rate vs Recipe 1, but it's harder to source.
Week 1 protocol — 8–10 meals/day
The most demanding period — it requires total dedication.
A typical hourly schedule:
| Time | Action |
|---|---|
| 06:00 | Feed 1 — Discus Fry Starter (0.5 ml / 10 fry) |
| 08:00 | Siphon leftovers + feed 2 |
| 10:00 | Feed 3 |
| 12:00 | Siphon leftovers + feed 4 + check parameters |
| 14:00 | Feed 5 |
| 16:00 | Siphon leftovers + feed 6 |
| 18:00 | Feed 7 |
| 20:00 | Siphon leftovers + feed 8 |
| 22:00 | Feed 9 (a small portion) |
| 02:00 | (Optional) Feed 10 — a small portion, in the dark |
Total meals/day: 8–10 Total food volume/day for 50 fry: ~5–7 ml of suspension
Water changes — vital
Frequency: 30% every 12 hours (2x per day)
Procedure:
- Prepare pre-aerated water, warmed to 30°C (86°F)
- Add 1–2 drops of methylene blue per L
- Siphon out (SLOWLY!) 30% of the volume with a THIN siphon
- Add fresh water in a TRICKLE down the container wall
Why so often:
- The protein-rich suspension (yolk) pollutes quickly
- Small fry = maximum sensitivity to ammonia
- Pathogenic bacteria multiply at 30°C (86°F) with organics present
Week 2 protocol — transition to brine shrimp
Day 7–8: the fry are now 3–5 mm (0.12–0.2 in), swimming actively, becoming "hunters."
Introducing brine shrimp nauplii:
How to hatch brine shrimp at home (see in detail in daily fry feeding):
- A 2L (0.5 US gal) bottle of salt water (30 g salt / L)
- 5 g of brine shrimp eggs
- Strong aeration + light
- 24h at 26–28°C (79–82°F)
- Harvest the nauplii with a fine mesh
Nauplii dose / fry:
- D7–D10: 50–100 nauplii / fry / meal
- D11–D14: 100–200 nauplii / fry / meal
A gradual transition:
| Day | Discus Fry Starter | Brine shrimp nauplii |
|---|---|---|
| D7 | 70% of the allocation | 30% |
| D8 | 50% | 50% |
| D10 | 30% | 70% |
| D12 | 10% | 90% |
| D14 | 0% | 100% |
Meal frequency in week 2:
A gradual reduction:
- D7–D10: 6–7 meals/day
- D11–D14: 5–6 meals/day
Weeks 3–4 protocol — diversification
Day 14–28: the fry reach 1–2 cm (0.4–0.8 in), 30–40% of the fry have survived.
Diversified feeding:
5 meals / day:
| Time | Food |
|---|---|
| 07:00 | Brine shrimp nauplii |
| 11:00 | Micro-pellets (Hikari First Bites, Sera Discus baby) |
| 14:00 | Nauplii + small daphnia |
| 17:00 | Micro-pellets |
| 20:00 | Brine shrimp nauplii |
Transfer to the normal grow-out tank:
When: at 3–4 weeks, when the fry are >1.5 cm (0.6 in).
How:
- Prepare the standard grow-out tank (see water for fry)
- Drip-acclimate for 1–2 hours (parameters may differ)
- Transfer with a container, NOT a net
- Continue the normal fry regime (see Raising the fry)
Key differences vs naturally raised fry
Artificially raised fry will have:
⚠️ A weaker immune system for the first 6 months — increased disease risk ⚠️ A smaller size at 4 months (5–7 cm / 2–2.8 in vs 7–10 cm / 2.8–3.9 in natural) ⚠️ Slightly paler colors initially (they return at 6–8 months) ⚠️ Shyer as adults (no parental social "training")
You compensate with:
✅ Supplemental vitamins for the first 3 months (Atvitol daily) ✅ Premium food up to 6 months ✅ Probiotics in the water (Sera Bio Nitrivec, JBL Denitrol) ✅ More frequent water changes (60% daily) ✅ Constant 30–31°C (86–88°F) for maximum growth
Common mistakes (avoid!)
❌ Too much at one meal — the fry's belly bursts, mortality ❌ Infrequent meals (4/day) — permanent stunting ❌ Strong aeration — the fry get sucked toward the diffuser ❌ No water changes — toxicity within 12–24h ❌ Cold water (under 29°C / 84°F) — metabolism stops ❌ Permanent methylene blue — toxic after 5–7 days ❌ Excessive handling — every touch = stress ❌ Strong lighting — confusion + stress
The TIME investment calendar
The plain reality:
| Week | Hours/day dedicated to the fry |
|---|---|
| Week 1 | 3–4 hours/day (8–10 meals + siphoning + observation) |
| Week 2 | 2–3 hours/day |
| Weeks 3–4 | 1–2 hours/day |
| After a normal transfer | 30–60 min/day |
In week 1, it's almost a full-time job. Make sure you're ready.
Estimated costs
Costs vary by country — the figures below are orientation estimates only:
| Item | Cost |
|---|---|
| Complete incubator equipment | €80–150 |
| Food (yolk, Sera Micron, etc.) — 4 weeks | €30–50 |
| Vitamins + supplements | €40–60 |
| Methylene blue + electrolytes | €15–25 |
| RO or distilled water (many liters) | €10–20 |
| Brine shrimp eggs (50g for the cycle) | €20–30 |
| TOTAL per artificial cycle | €200–340 |
Recovery: 50 surviving fry (40% of 125 eggs) × approx. €10–30/fry at 6 months = roughly €500–1,500 (RO estimate — fish prices vary widely by market).
When to GIVE UP and try another plan
Indicators of irreversible failure:
⚠️ 80%+ mortality in the first 5 days — stop, re-evaluate ⚠️ The fry don't grow at all after 14 days — probably a nutritional deficiency ⚠️ Massive Saprolegnia that doesn't respond to treatment ⚠️ A bacterial infection killing 5+ fry/day
Alternatives:
- Stop and rest the pair — try again in 2–3 months with more experienced parents
- Change the pair — maybe they're not a good match
- Buy ready-grown fry — keep the tank for another activity
- Consult an experienced breeder — for a personalized perspective
Professional solutions (advanced)
For serious breeders with large volume:
A dedicated professional incubator:
- A modified cooler/incubator (precise thermal control)
- A peristaltic pump for automated feeding
- O2 + ammonia sensors with an alert
Cost: €500–1,500 (an orientation estimate). Only for professional farms with 5+ spawns/month.
Conclusion
Artificial discus fry raising is a necessary art for any serious breeder — even though the success rate is lower than natural (40–60% vs 60–85%), it saves spawns that would be totally lost to defective parents.
Extreme dedication in week 1 (8–10 meals/day, water changes 2x/day) is the price to pay to turn a lost spawn into a recovered investment.
It's not for every breeder — it requires time, equipment and patience. But for valuable pairs with repeated parental problems, it's the only option to save the genetics.
🛒 See the aquarium equipment for fry and treatments in the Discus.ro shop.
See also egg care — incubation, daily fry feeding, fry water quality — first months, Raising the fry (12 weeks) and The breeding process.
Recommended products
Picked from the shop based on what you just read
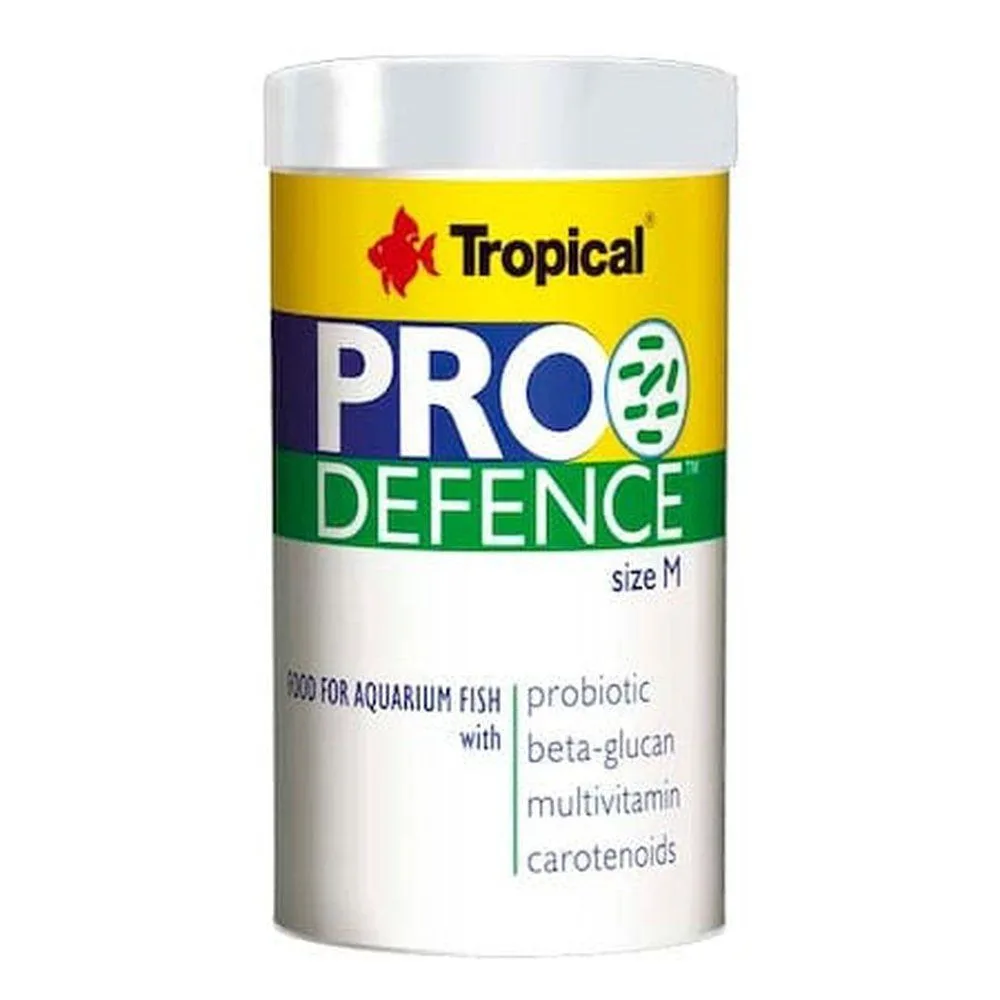
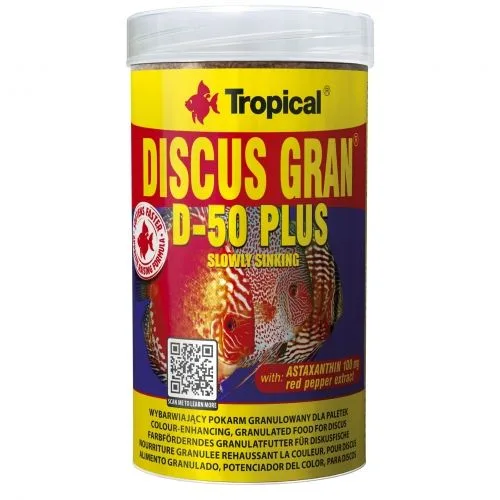
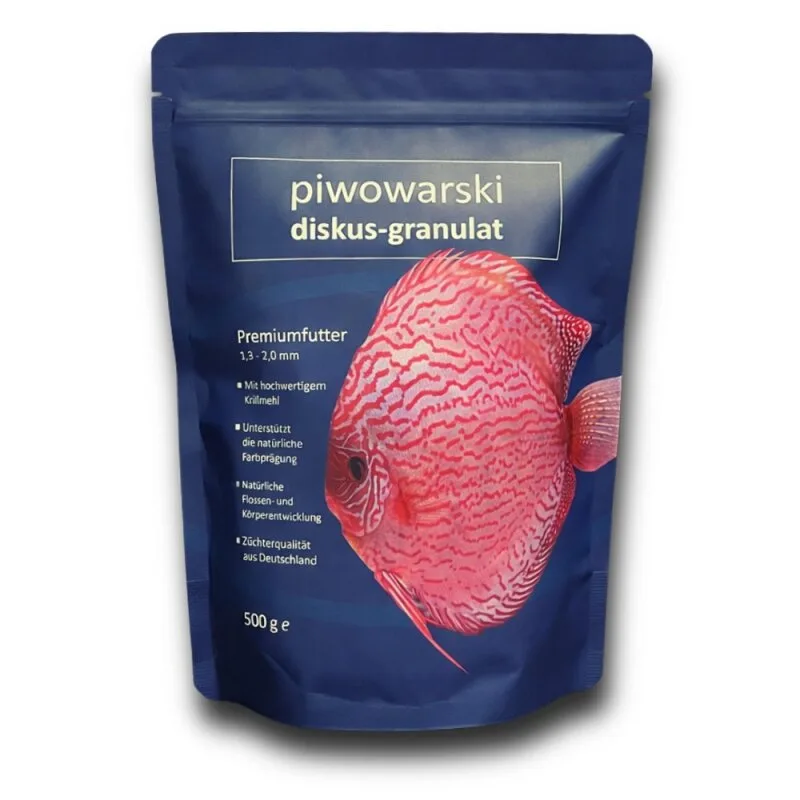

Recommendations are selected from the discus.ro shop based on this guide's topic. Availability and prices may vary.
Frequently asked questions
Put what you just read into practice
One account brings together everything you need to keep your tank on track:
Water parameters, inhabitants, photos and the full history of every change — our most used tool.
Water changes, cleaning and feeding, on your own dates.
See at a glance which values fall outside the safe discus range.
The guides, products and listings you follow, saved in one place.