The discus breeding process: 6 complete phases (day by day)
The discus breeding process takes 6–7 days and actively involves both parents. A guide to the 6 phases (courtship, laying 80–300 eggs, 48–60h incubation, hatching, free swimming, parental mucus) and what to do at each stage.
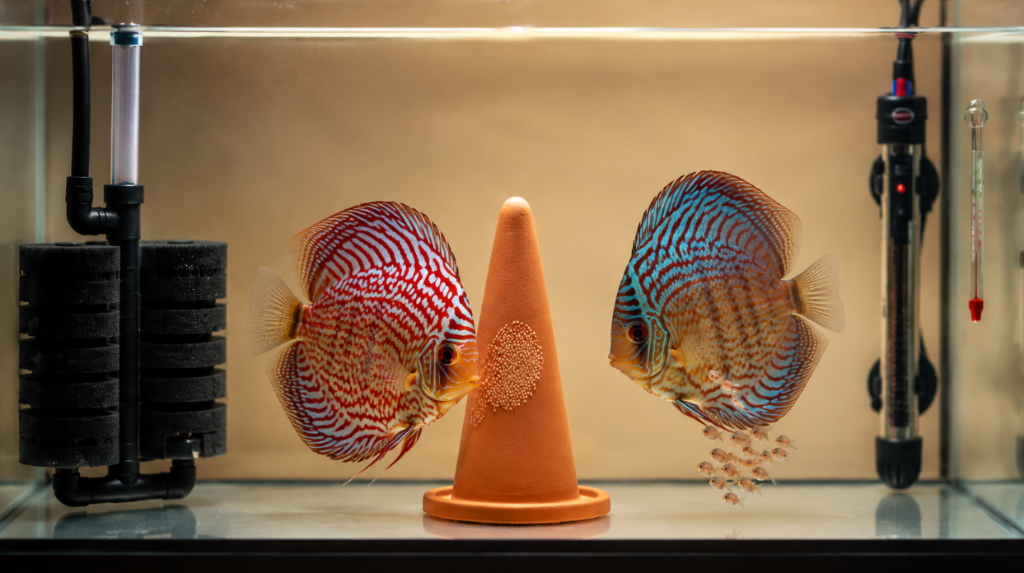
Quick summary
- Total duration: 6–7 days from the first courtship sign to the first brine shrimp feeding
- Phase 1 — Courtship: 1–3 days (surface cleaning, dancing, rubbing)
- Phase 2 — Spawning (D0): 80–300 yellow-orange eggs on a vertical surface, 30–90 min
- Phase 3 — Incubation (D0–D2): both parents fan the eggs, hatching in 48–60h at 30–31°C (86–88°F)
- Phase 4 — Hatching (D2–D3): larvae attached to the surface by an adhesive thread
- Phase 5 — Free swimming (D4–D5): fry attach to the parents' skin for parental mucus (a unique phenomenon!)
- Phase 6 — First feeding (D6–D7): introduce freshly-hatched brine shrimp nauplii
- DO NOT intervene in the first 5 days — disturbance causes the parents to eat the spawn
In short
- Total duration: 6–7 days from the first courtship sign to the first brine shrimp feeding.
- Phase 1 — Courtship: 1–3 days (surface cleaning, dancing, rubbing).
- Phase 2 — Spawning (D0): 80–300 eggs yellow-orange on a vertical surface, 30–90 min.
- Phase 3 — Incubation (D0–D2): both parents fan the eggs, hatching in 48–60h at 30–31°C (86–88°F).
- Phase 4 — Hatching (D2–D3): larvae attached to the surface by an adhesive thread.
- Phase 5 — Free swimming (D4–D5): the fry attach to the parents' skin for parental mucus (a unique phenomenon!).
- Phase 6 — First feeding (D6–D7): introduce freshly-hatched brine shrimp nauplii.
- DO NOT intervene in the first 5 days — disturbance causes the parents to eat the spawn.
What you'll learn
The discus breeding process (Symphysodon) is one of the most spectacular phenomena in the hobby — and unique among fish in feeding the fry on parental mucus (the only large cichlid with this behavior, alongside the uaru). The full process takes 6–7 days and actively involves both parents in all 6 phases: courtship (1–3 days of obsessive surface cleaning), laying 80–300 yellow-orange eggs, incubation with active fanning (48–60h at 30–31°C / 86–88°F), hatching of larvae attached to the surface by an adhesive thread, free swimming on days 4–5 when the fry attach to the parents' skin for mucus feeding, and the first external feeding with brine shrimp nauplii on days 6–7. This guide explains exactly what happens day by day and what you should do at each stage for successful breeding.
Phase 1: Courtship (Days -3 to 0)
What you observe
- The pair swims in tandem constantly, very close together
- They frequently touch body to body
- They obsessively clean a vertical surface (ceramic cone, Anubias leaf, tank wall)
- Intense, vibrant colors — especially in the male
- Alert and territorial behavior
- Intensified activity in the morning and evening
Duration
- 1–3 days usually
- Young pairs: can take 5–7 days
- Experienced pairs: 24h or less
What you do
✅ Ensure quiet: avoid disturbances, don't tap the tank ✅ Check the parameters: temperature 30°C (86°F), pH 6.0–6.5, TDS 80–150 ✅ Reduce the lighting to 20–30% — see lighting ✅ Light feeding: beef heart + brine shrimp, NOT in excess ✅ Check the spawning cone — cleaned by you with warm water, no chemicals
❌ DO NOT change the water more than 10% in these days ❌ DO NOT introduce new products (supplements, treatments) ❌ DO NOT move the pair now — wait until it's clearly formed
Phase 2: Laying the eggs (Day 0)
How it goes
- The female makes the first row — laying 10–20 eggs in a straight line on the cleaned surface
- The male follows immediately and fertilizes the row with sperm
- The process repeats in parallel rows until she lays all the eggs
- Total duration: 30–90 minutes
How many eggs
| Pair's age | Egg count | Notes |
|---|---|---|
| First spawn | 30–80 | Often infertile |
| Young pairs (3–6 months) | 100–200 | 40–60% success rate |
| Mature pairs | 200–300 | 70–90% success rate |
| Old pairs (3+ years) | 100–200 | Decreases with age |
How to recognize healthy eggs
✅ A translucent yellow-orange color ✅ Firmly adhered to the surface ✅ A perfect round shape ✅ Aligned in parallel rows
❌ White or opaque eggs = unfertilized or dead ❌ Eggs fallen off the surface = poor adhesion (wrong parameters) ❌ Gray-white fuzz = Saprolegnia fungus — see white eggs
What you do
✅ OBSERVE QUIETLY — don't enter the room, don't open the lid ✅ Film discreetly through the tank glass for documentation ✅ DO NOT change the water in the next 24h ✅ Check the temperature stays stable at 30°C (86°F)
Phase 3: Incubation (Days 0–2)
The parents' behavior
- Both parents take turns watching the eggs
- They fan the eggs with their pectoral fins for oxygenation
- They eat the unfertilized or dead eggs (the white ones) — NORMAL behavior, don't panic
- They apply mucus lightly over the eggs for antifungal protection
- They aggressively chase off any movement perceived as a threat
What happens in the eggs
- Hour 0–12: cell division begins
- Hour 12–24: the spine forms
- Hour 24–36: the eyes become visible (tiny black dots)
- Hour 36–48: the heart and circulatory system form
- Hour 48–60: hatching at 30–31°C (86–88°F)
Temperature — a critical factor
| Temperature | Hatching time | Risk |
|---|---|---|
| 28°C (82°F) | 72–84h | Slow, fungus risk |
| 29°C (84°F) | 60–72h | OK |
| 30°C (86°F) | 48–60h | Optimal |
| 31°C (88°F) | 40–50h | Optimal |
| 32°C (90°F) | 36–48h | Deformity risk |
What you do
✅ NOTHING in the first 48h ✅ Check the temperature daily ✅ Minimal feeding for the parents (1× per day, a small amount) ✅ Observe the behavior through the glass
❌ DO NOT open the lid ❌ DO NOT change the water ❌ DO NOT use methylene blue if the parents are caring well (it causes stress)
Phase 4: Hatching (Days 2–3)
What the larvae look like
- Very small (~3 mm / 0.12 in)
- Attached to the surface by an adhesive thread from the top of the head
- A visible yolk sac under the body (a nutrient reserve)
- Small, jerky movements — not yet swimming
- A thin tail that vibrates
The parents' behavior
- They actively move the larvae with their mouths between surfaces (cone → leaf → wall)
- They gently chew the adhesive threads to transfer the larvae
- They eat dead or defective larvae — NORMAL
- They become extremely aggressive with any intruder
- They don't feed actively — all energy is for the fry
Normal survival rate
- From 200 eggs → ~150 hatch → ~120 viable larvae = a 60% initial rate
- Normal losses through genetic defects, partial fertilization, fungus
What you do
✅ MINIMAL water changes (5% max, very slowly) ✅ Check NH3 and NO2 — must be 0 (see ammonia levels) ✅ Continue light feeding of the parents ✅ DO NOT stress the pair
Phase 5: Free swimming and parental mucus (Days 4–5)
The magic moment
At 96–120 hours after hatching (days 4–5), the larvae become free-swimming fry:
- They detach from the thread
- They consume their yolk sac
- They attach to the parents' skin to feed
- They eat the nutritive mucus secreted from the parents' epidermis
The parental mucus phenomenon — unique among fish
Discus (alongside only the species Uaru amphiacanthoides) secrete a special mucus layer from the skin of their back, containing:
- Protein (35–40%)
- Immunoglobulins (antibodies for immunity)
- Probiotics (beneficial gut bacteria)
- Vitamins and minerals
This phenomenon is essential for the fry's survival in the first 5–7 days.
The fry's behavior
- They stay stuck to the parents' backs/sides
- The parents swap alternately ("contactless rotation") — when one is too covered, it transfers the fry to the other
- The fry eat continuously off the mucus
- They grow visibly within 24h
The parents' behavior
- They don't feed at all in this phase
- They become very thin — losing 10–20% of their weight
- They require maximum patience from you
- Stress makes them eat the fry — keep things calm!
What you do
✅ Total quiet — no disturbances ✅ MINIMAL lighting (the dimmest light available) ✅ Check the temperature is stable at 30°C (86°F) ✅ DO NOT change the water yet
❌ DO NOT feed either the parents or the fry — you disrupt the parental mucus ❌ DO NOT open the lid
Phase 6: First feeding with brine shrimp (Days 6–7)
When to introduce food
When the fry start to swim away from the parents for short periods (usually day 6–7), it's time for the first external food: freshly-hatched brine shrimp nauplii.
How to hatch brine shrimp
- A 1–2L (0.25–0.5 US gal) bottle/jar with salt water (35g salt per liter)
- Add 1 spoon of brine shrimp eggs (e.g. Sera Artemia, JBL ArtemioVit)
- Continuous aeration + a temperature of 28°C (82°F) + light
- Hatching in 24–36h
- Filter with a fine sieve (50–80 microns)
How to feed
- A pipette/syringe with live nauplii
- Close to the fry but not in front of the parents
- 2–3× per day in the first week
- 5–6× per day once the fry are 1+ week into external feeding
The fry's behavior
- They hunt the nauplii like tiny red specks
- Their belly turns orange after feeding (a good sign!)
- The parents gradually start returning to normal feeding
What you do
✅ Small water changes (10% daily) for quality ✅ Check ammonia/nitrite — sensitive fry ✅ Continue feeding the parents small amounts ✅ Extreme quiet is no longer needed — the fry are more robust
See the full guides on feeding discus fry and water for fry in the first months.
Common problems by phase
In courtship
- A pair that doesn't spawn → check conditioning, temperature, parameters
- A pair fighting aggressively → possibly 2 males, or an immature pair
In spawning
- Fallen eggs → surface too smooth or wrong parameters
- Partial spawning (only the female lays, the male doesn't fertilize) → possibly 2 females
In incubation
- All eggs white within 12h → see white eggs
- Fungus (white mold) → add methylene blue at 0.5 ppm
In hatching
- Larvae fallen to the bottom → water current too strong
- Parents eating the larvae → external stress, young pairs — see parents eating the eggs
In free swimming
- The fry don't attach to the parents → parents with no mucus (illness, malnutrition)
- Parents fleeing from the fry → immature pairs, separate and try again
Common mistakes
❌ Changing the water during breeding → massive stress, the spawn fails.
❌ Using methylene blue prophylactically → the parents become stressed and eat the eggs.
❌ Overfeeding during courtship → the water degrades, the eggs get infected.
❌ Lighting too bright → the parents abandon the spawn.
❌ Opening the lid often → disturbance = cannibalism.
❌ Waiting for the fry to feed themselves off the substrate → they starve at day 6–7 without brine shrimp.
Final checklist — breeding step by step
- ☐ A breeding tank set up 2 weeks in advance
- ☐ The pair on a 28-day protein conditioning
- ☐ Stable parameters: 30°C (86°F), pH 6.5, TDS 100
- ☐ A clean spawning cone/surface
- ☐ Quiet and reduced lighting
- ☐ Cleaning observed (days -3 to 0)
- ☐ Spawning documented (D0)
- ☐ Incubation without intervention (D0–D2)
- ☐ Hatching confirmed (D2–D3)
- ☐ Free swimming with parental mucus (D4–D5)
- ☐ Brine shrimp hatched and ready for D6
- ☐ First external feeding successful (D6–D7)
What to do next
📚 Continue learning:
- How pairs form — the natural method
- Breeding tank — setup — tank prep
- Conditioning the pair, 28 days — biological prep
- White eggs — causes — troubleshooting
- Parents eating the eggs — solutions
- Egg care — incubation — technical details
- Artificial fry raising — Plan B
- Daily fry feeding — the first months
- Water for fry — the first months — specific parameters
🔧 Practical resources:
- Brine shrimp eggs + hatchery — shop — for day 6
- Catappa leaves — shop — a natural antibacterial
- Verified breeders — for real-time advice
🐠 Final tip: Patience is everything. The biggest enemy of breeding isn't the water parameters, but excessive human intervention. Watch the phenomenon, learn the pair's rhythm, intervene MINIMALLY. On a first spawn you may lose the whole batch — that's normal. By the 3rd–5th attempt you get healthy fry. Discus that breed once tend to breed monthly for the next 3–5 years.
Recommended products
Picked from the shop based on what you just read
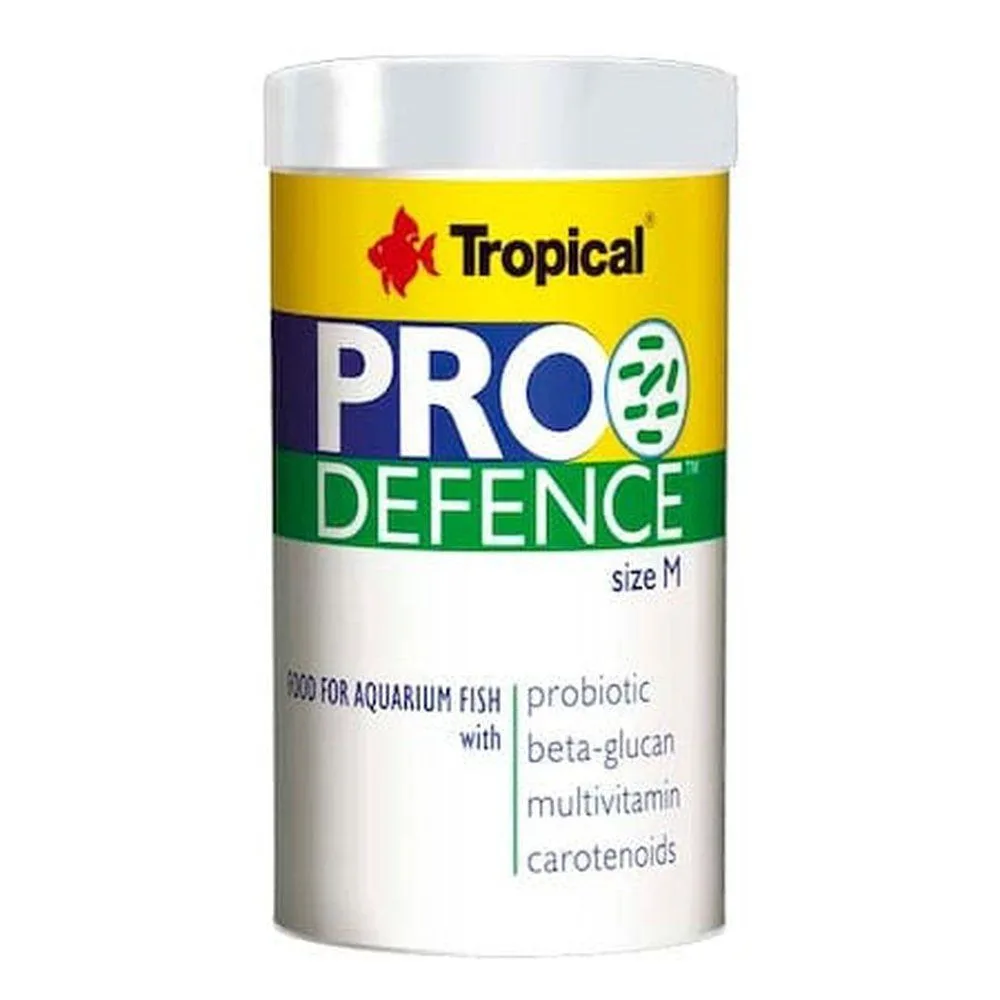
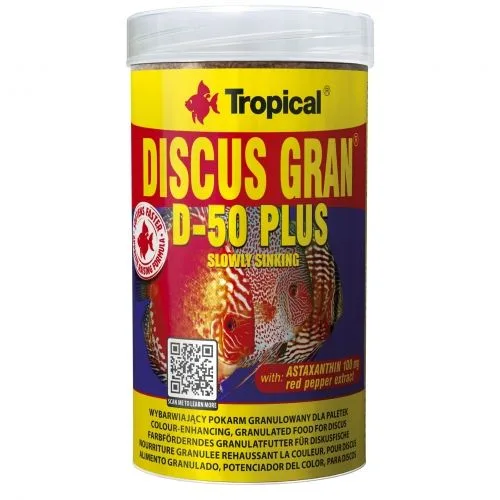
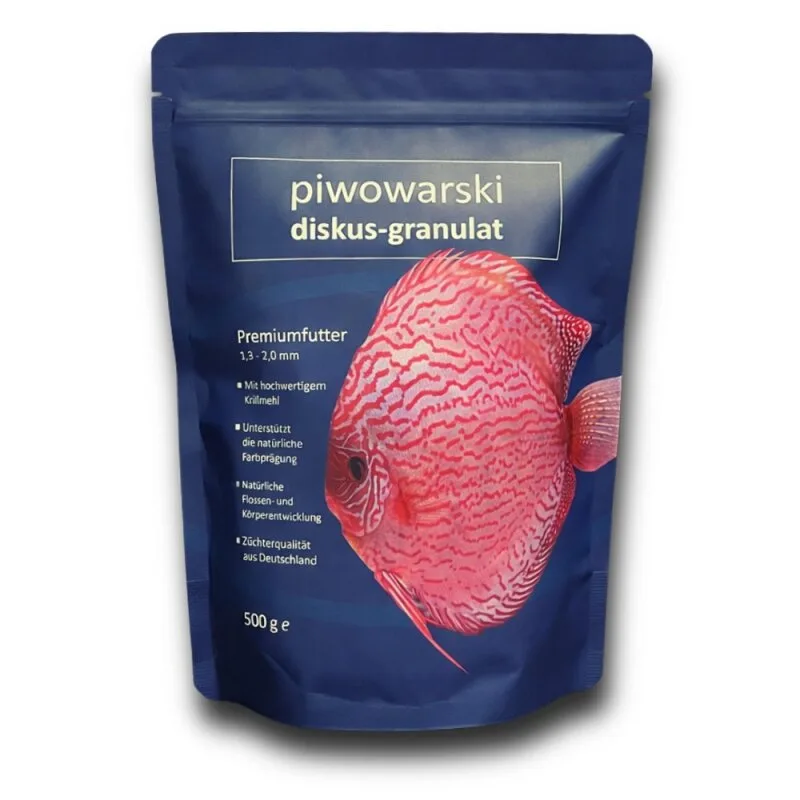

Recommendations are selected from the discus.ro shop based on this guide's topic. Availability and prices may vary.
Frequently asked questions
Put what you just read into practice
One account brings together everything you need to keep your tank on track:
Water parameters, inhabitants, photos and the full history of every change — our most used tool.
Water changes, cleaning and feeding, on your own dates.
See at a glance which values fall outside the safe discus range.
The guides, products and listings you follow, saved in one place.